


Masculine Birthday Card
- Sep 22, 2017
- 2 min read
Hello, friends!
No long-distance charges are a great thing! This card had its start because my mother called me from her home (a twelve-hour drive from mine) so I could test my cardstock while she was at the craft store to see if she'd want to use it with her own card-making dies. While we were talking, I had to measure, score, cut and fold to see how well it would all work. As it turns out, it works well so long as you are both using the same terminology. Paper "cracking" means something different to me than to her — oops!

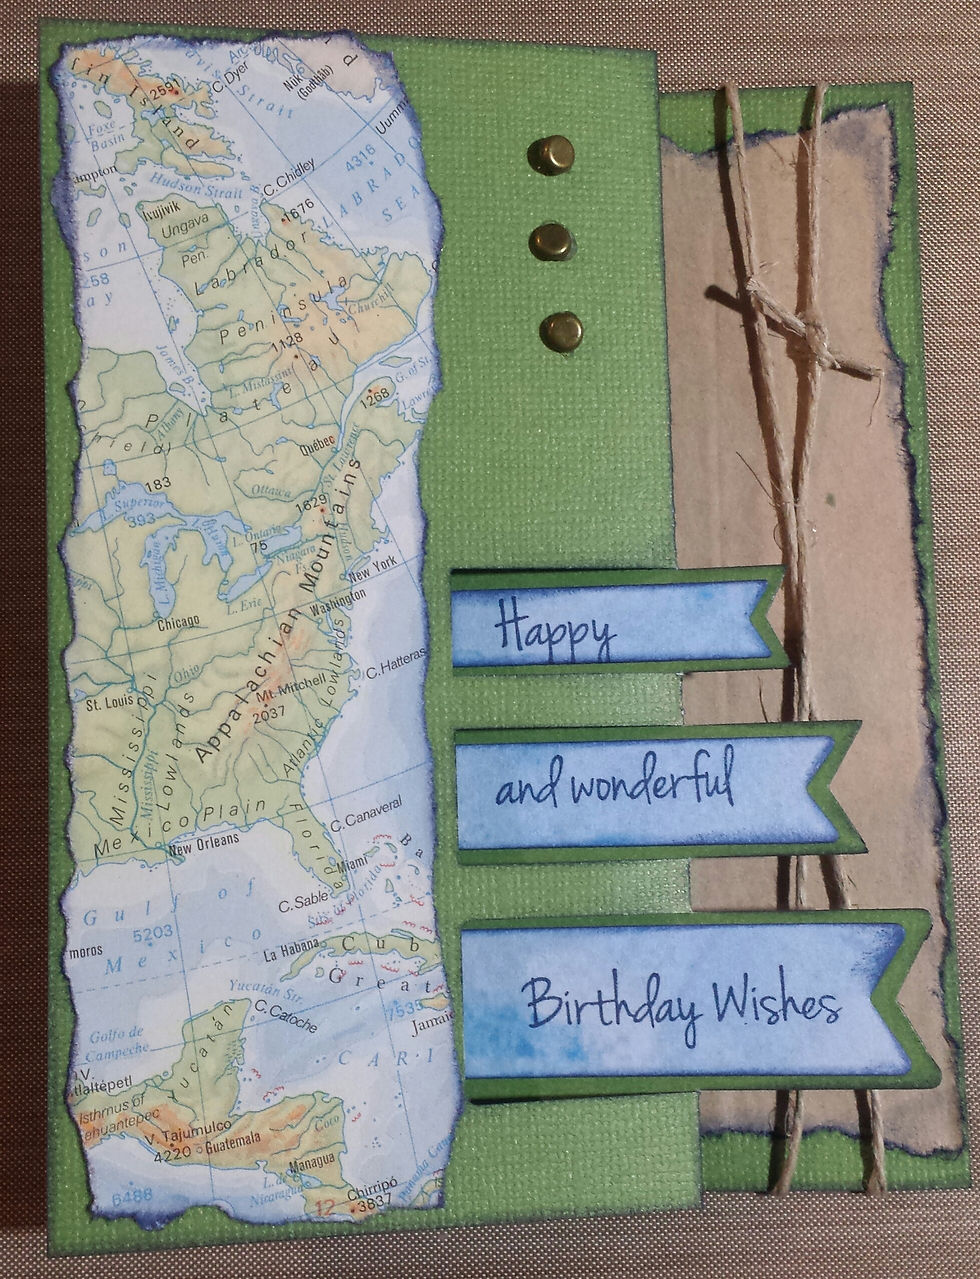
I used green textured cardstock and the Triple Flag Card Making Die on my phone-call card base. I also used the Flags Layering Die Set from The Paper Cut. The flag banners were cut from a scrap leftover from a different project. Don't you just love when you find the perfect scrap to use for die cutting? Next, I ripped a map out of an old maps book I found at a used bookstore several years ago. I really hate to rip up books, but I reconciled this usage with myself because the maps were so old that they included the USSR. Not exactly up-to-date!
The stamps in the flag banners are Happy Birthday Wonder Wishes Banner from Endless Creations, made specifically to go with the flag dies from The Paper Cut. Next time, I will stamp before I cut!!! It was much harder to center the stamps on the die cuts than it would have been to center the dies around stamped words.
I attempted another unsuccessful experiment because I was trying not to have marks from the brads show through on the inside of my card. I cut off the ends of the brads and adhered them with glue dots; while they are sticking, they are wobbling and don't stay exactly in place. I will not be doing that again, but trying it is the only way to figure out if it works or not.
I used Chipped Sapphire Distress Ink to edge everything. This is an important step if you wish to cover the white core of the cardstock.

I used a paper bag I got from an online order to line the inside of the card. It was the perfect shade and look I was going for. I used two Tim Holtz stamps: a gentleman (from Time Travelers stamp set) and a bike (from Tiny Things 2 set). I also used a compass stamp (from 100 Proof Press) that I got several years ago from the Adventures In Stamping convention. The 'Happy Birthday' stamp is Stampendous. I used Fern Green Archival Ink to stamp the Happy Birthday and Bundled Sage/Chipped sapphire Distress Inks for the images. The twine is from my stash.
I love how it turned out despite the learning curve. I had fun playing and discovering what not to do! What is your favorite part of the card?
Blessings,
Julie
Comments